Creating Seussology App - Part 1
Installing Laravel Site
1. Download Site Archives
Go to https://eisenbm.edumedia.ca/mtm6331/local-servers.zip. A zip file will begin downloading.
Extract the contents of the zip file.
TIP
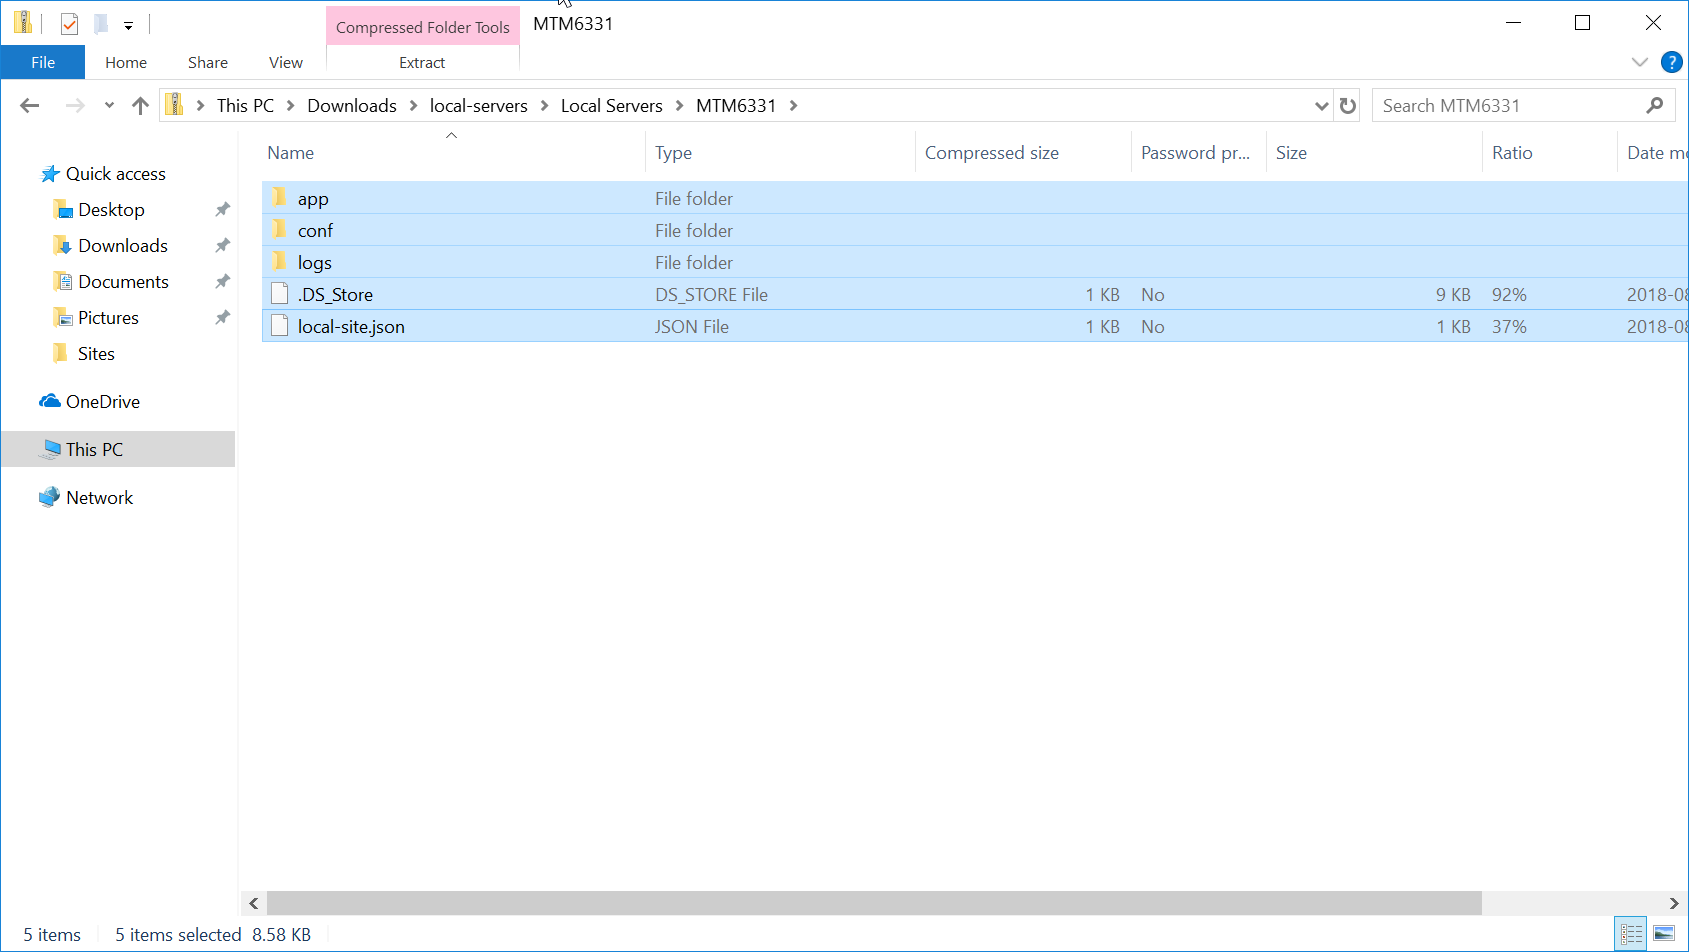
Inside the folder Local Servers will be two zip file MTM6331.zip and MTM6331 Laravel.zip.
STOP
Do NOT extract or unzip MTM6331.zip and MTM6331 Laravel.zip.
2. Import Site
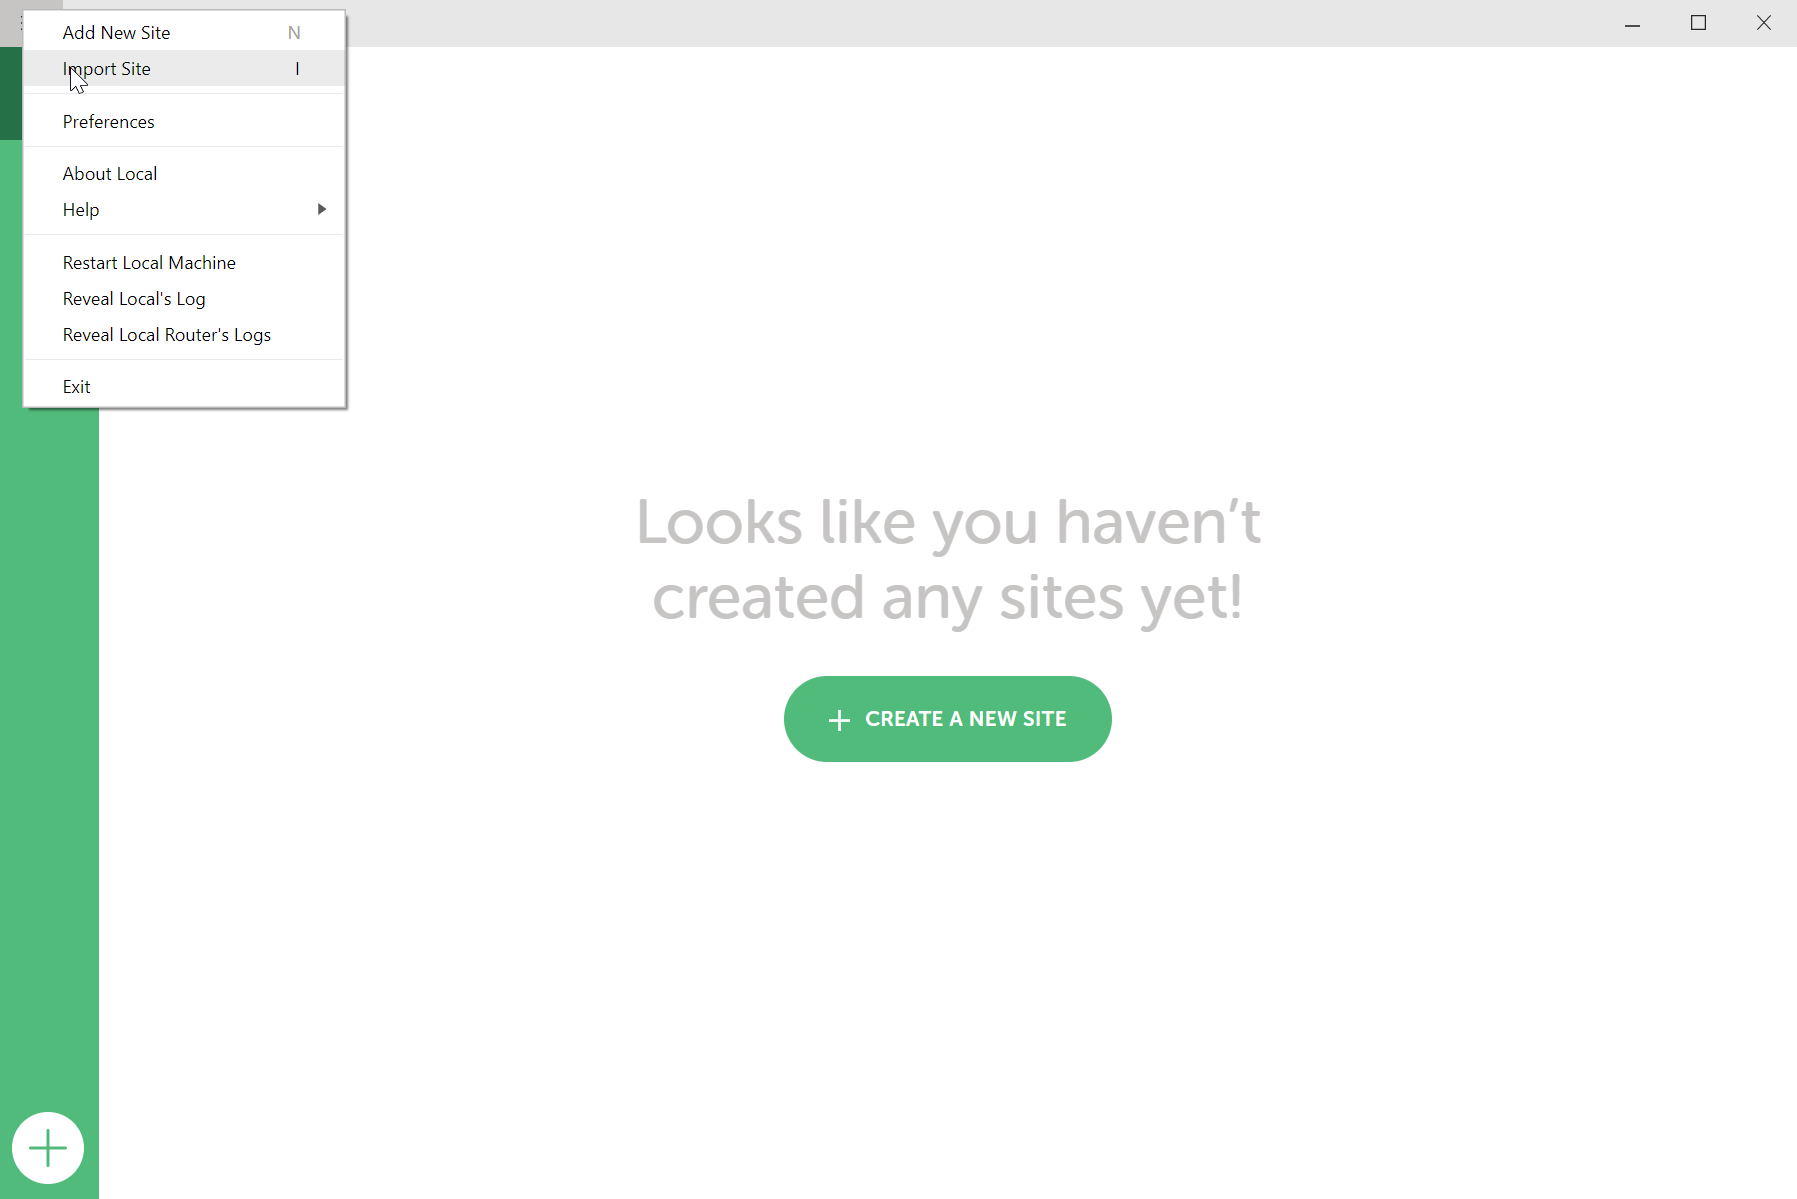
In Local by Flywheel, select Import Site under the menu icon (Windows) or the File Menu (macOS). Find and select the MTM6331 Laravel.zip and click "Open".
The Import Site from Archive screen will open. The Local site name should be mtm6331 laravel
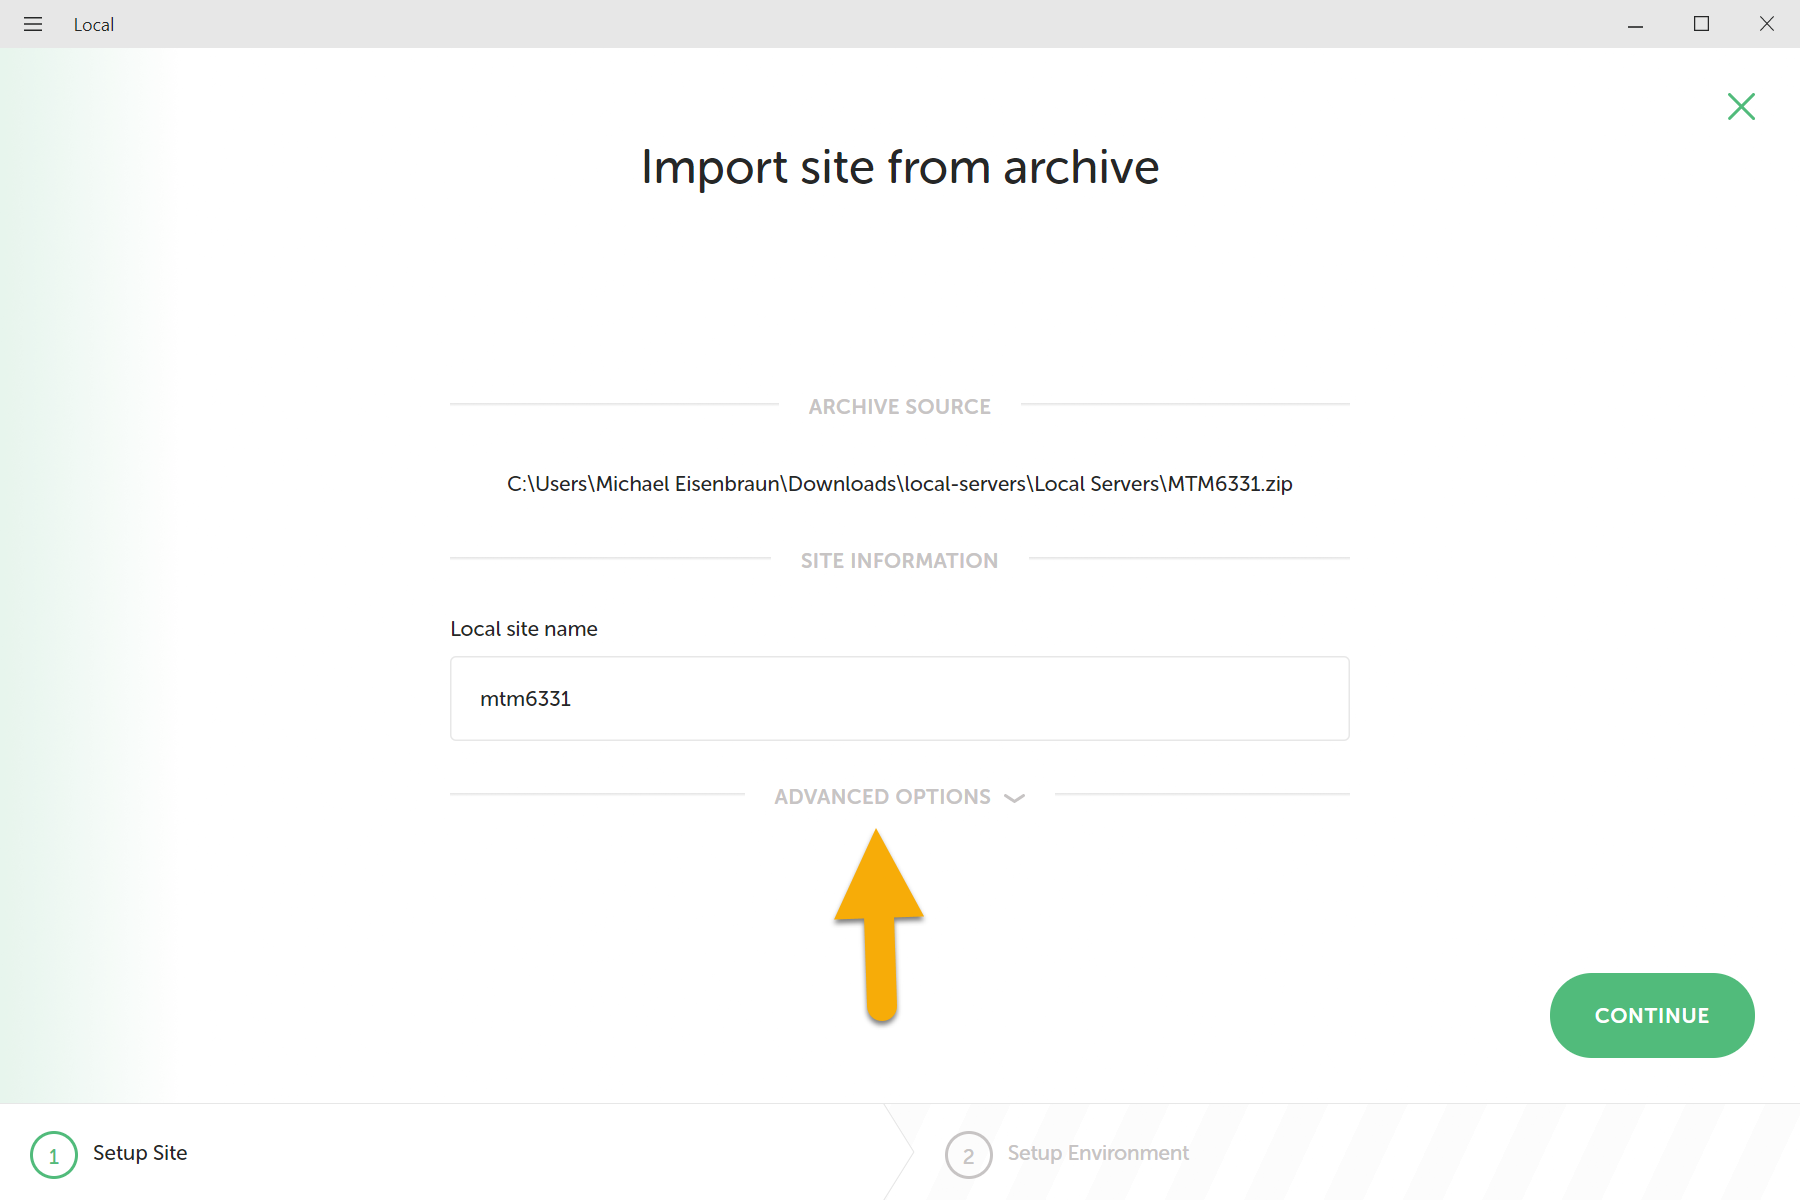
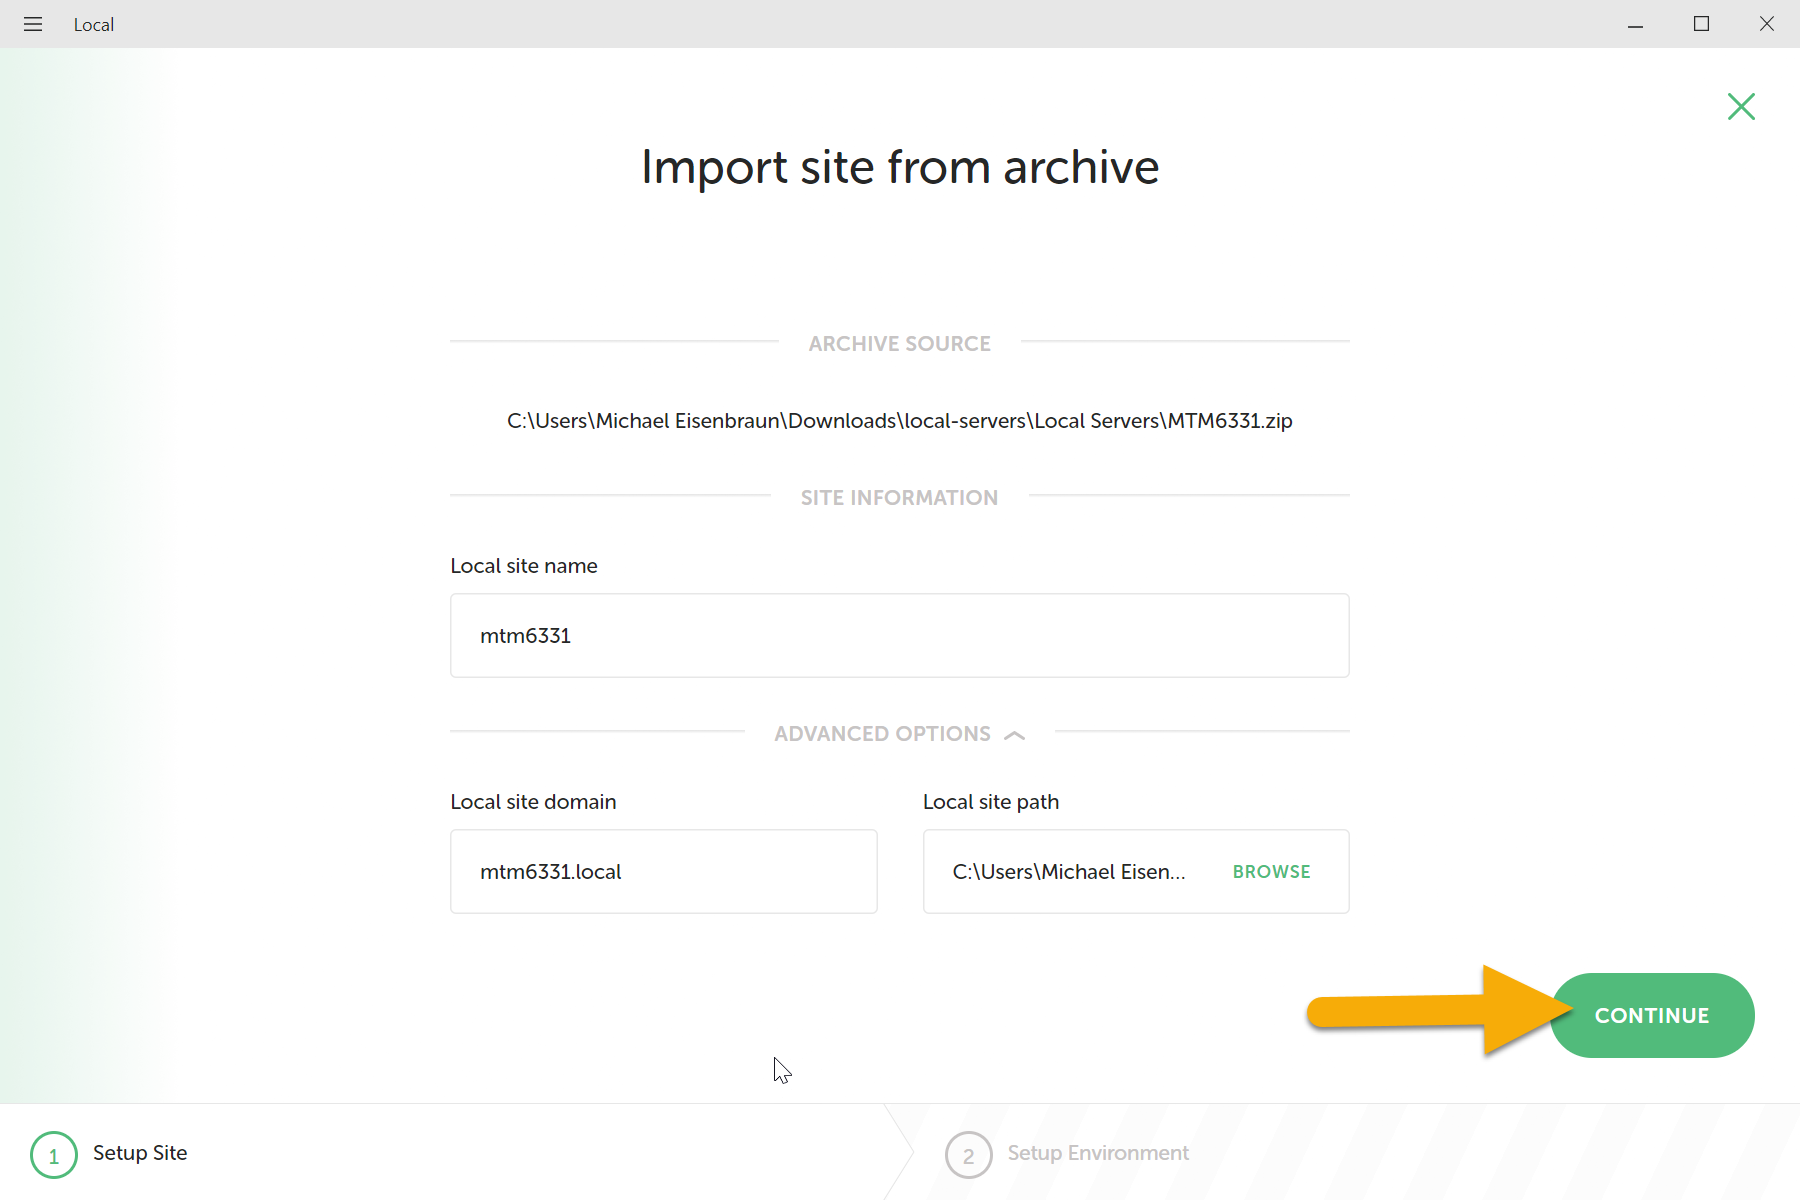
Click on Advanced Options. The Local ste domain should be mtm6331-laravel.local. The Local site path is the location where the site files should to be stored, you may choose where you want to store these files. Click the continue button.
TIP
Sites do not need to be stored together. Sites can be stored on external drives.
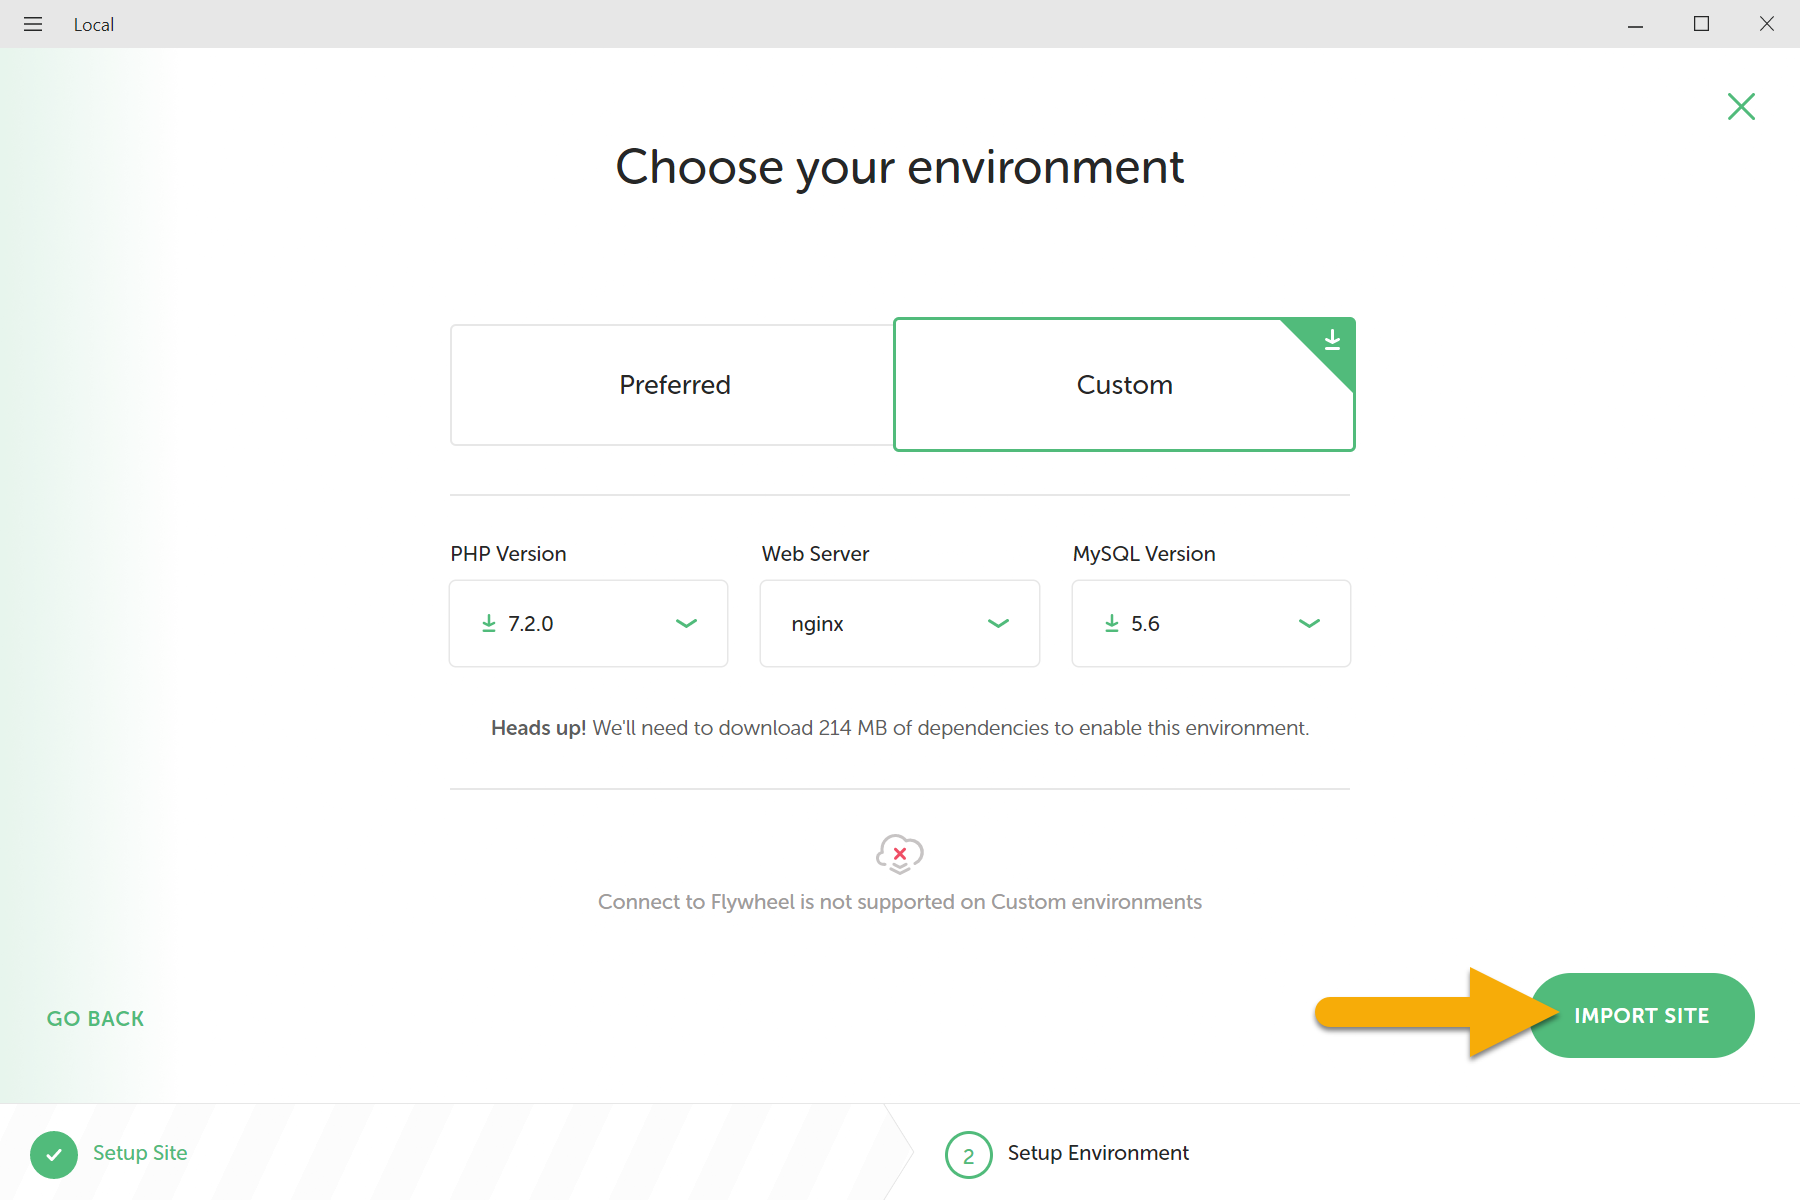
The Choose your environment screen will appear. Click on "Import Site" button.
STOP
Do NOT change these options.
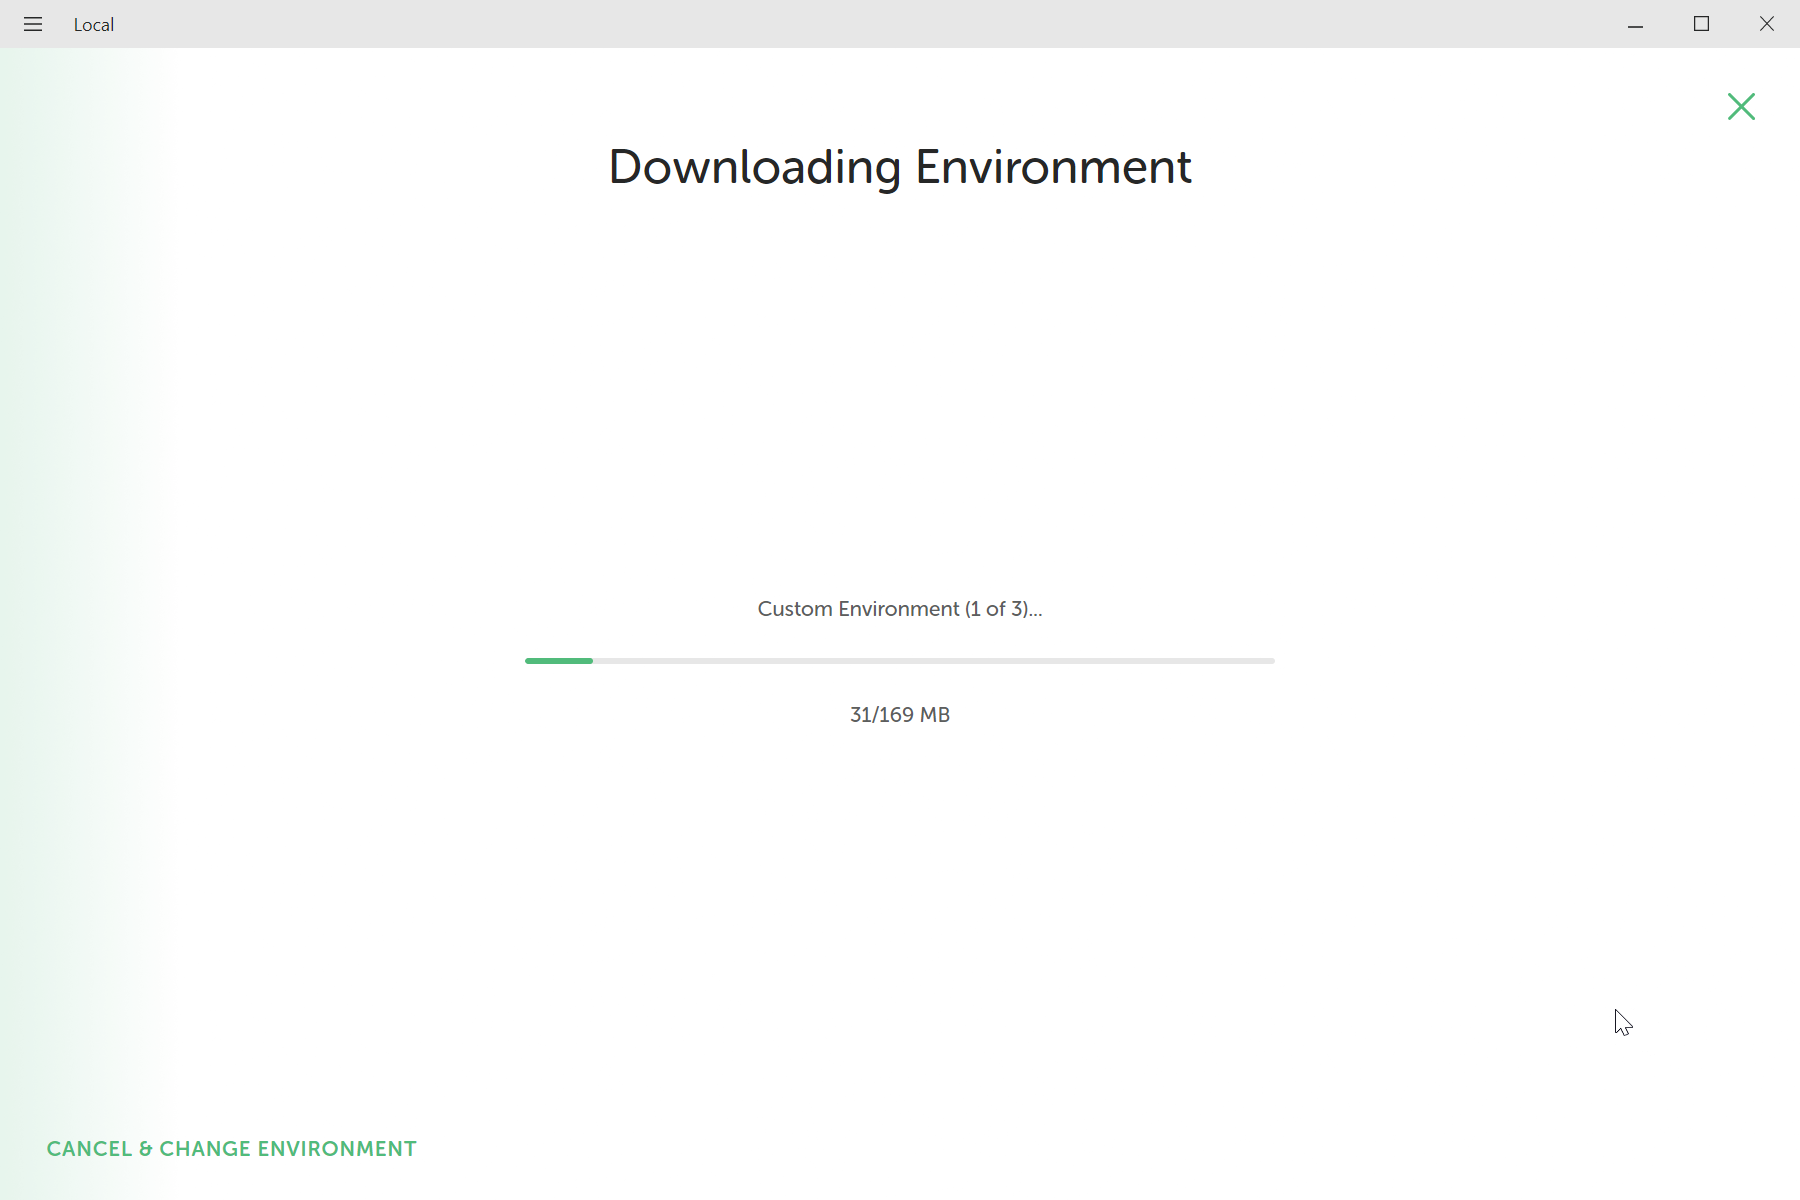
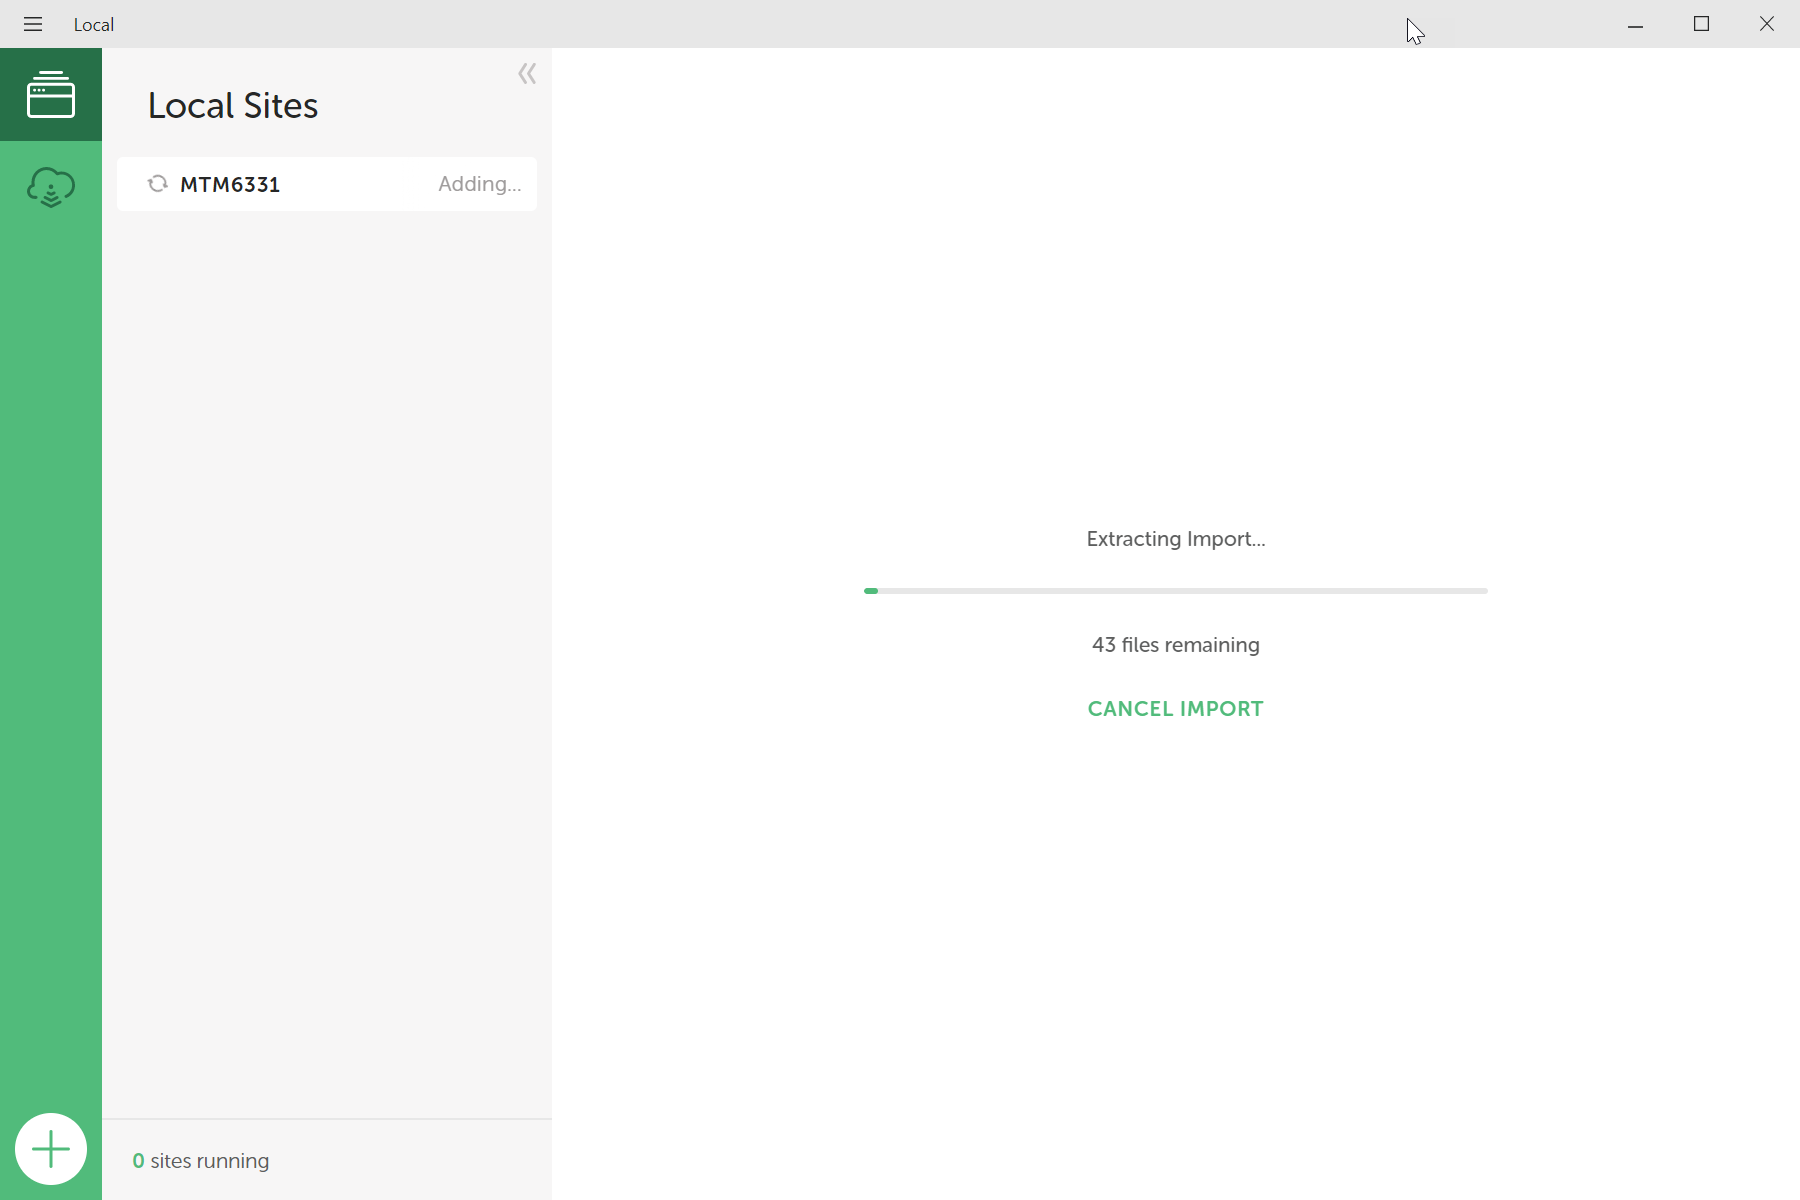
Local by Flywheel will download the environment and will import the new site.
3. Add Files Manually
Only if extraction fails
If the site extracts hangs or takes longer than a few minute following the instruction below. If not, skip to step 6.
If site extraction fails, quit Local by Flywheel. Reopen Local by Flywheel. (This may take a few minutes)
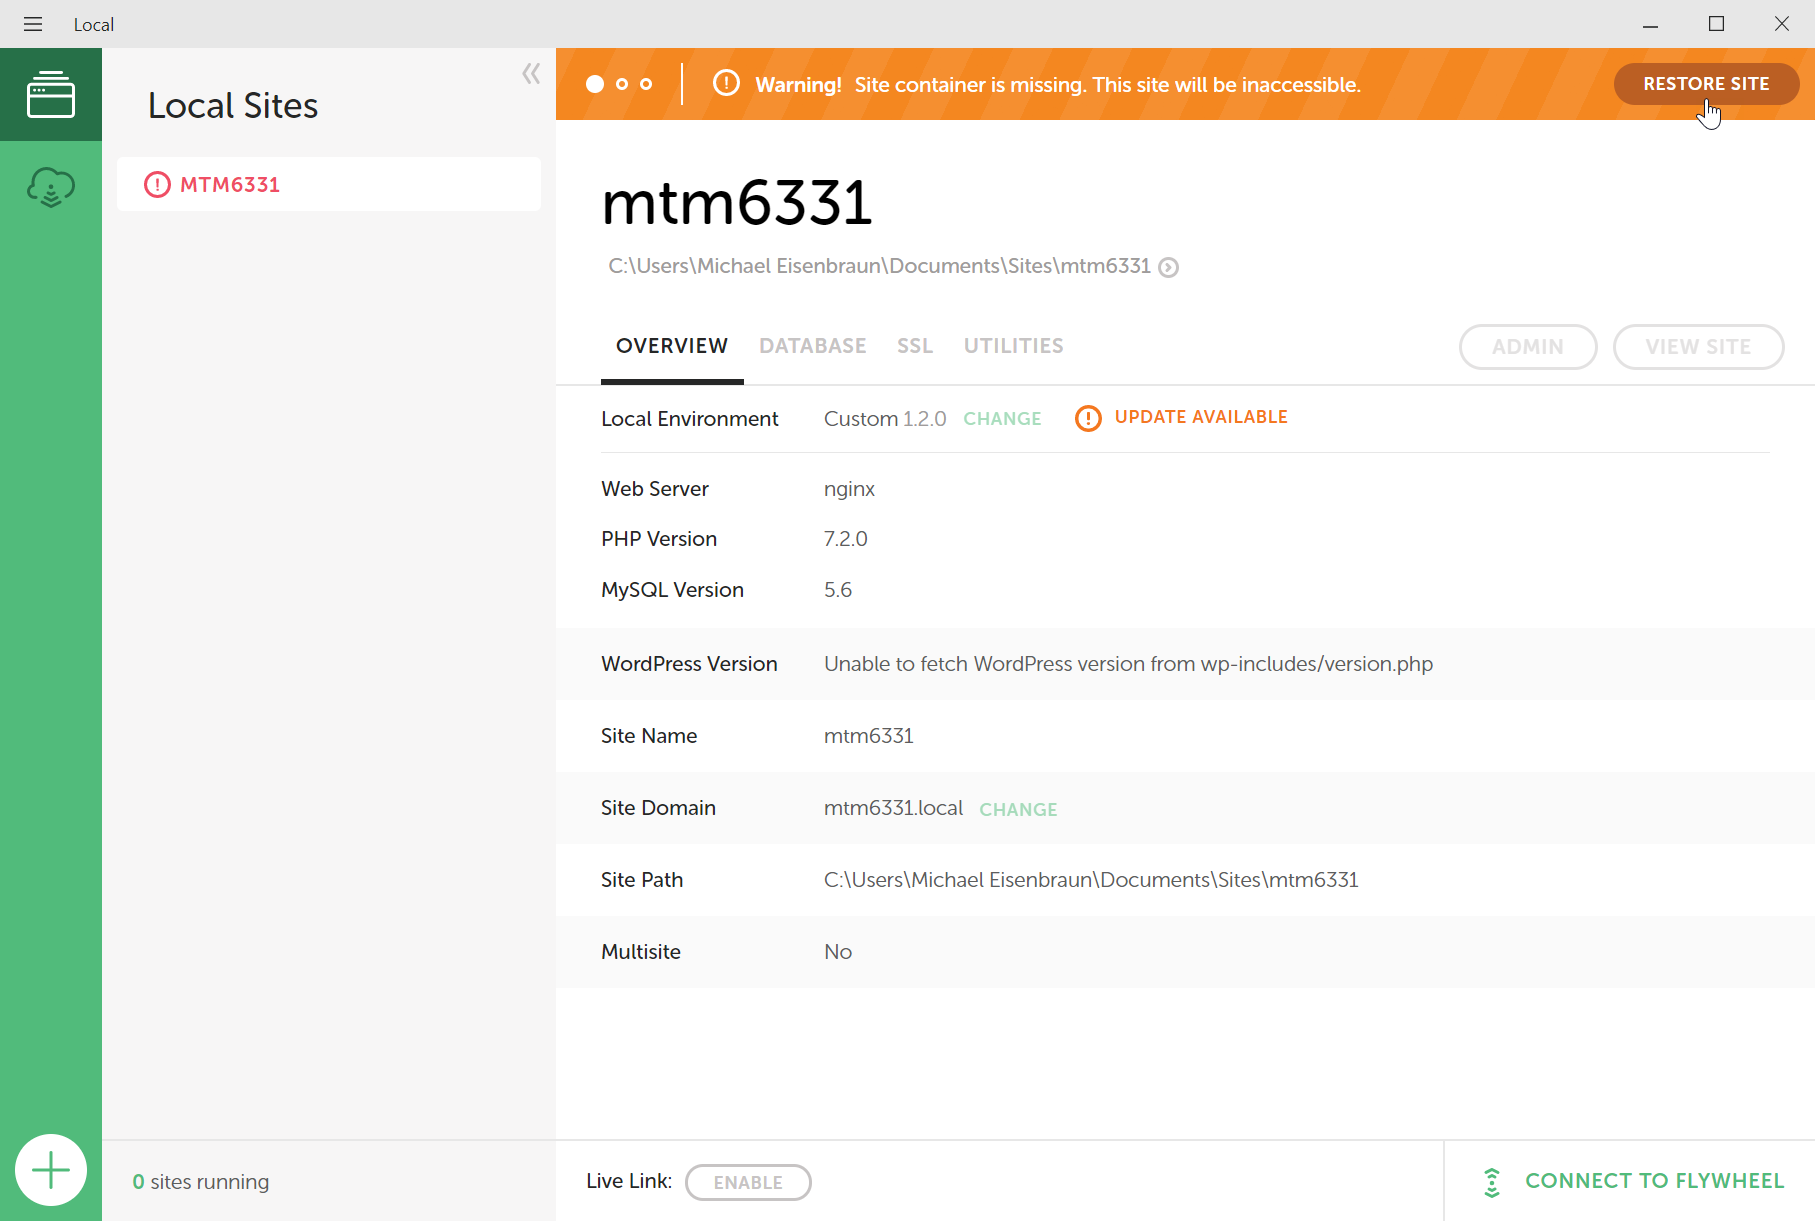
When Local by Flywheel finishes opening you may see the new site listed but in red.
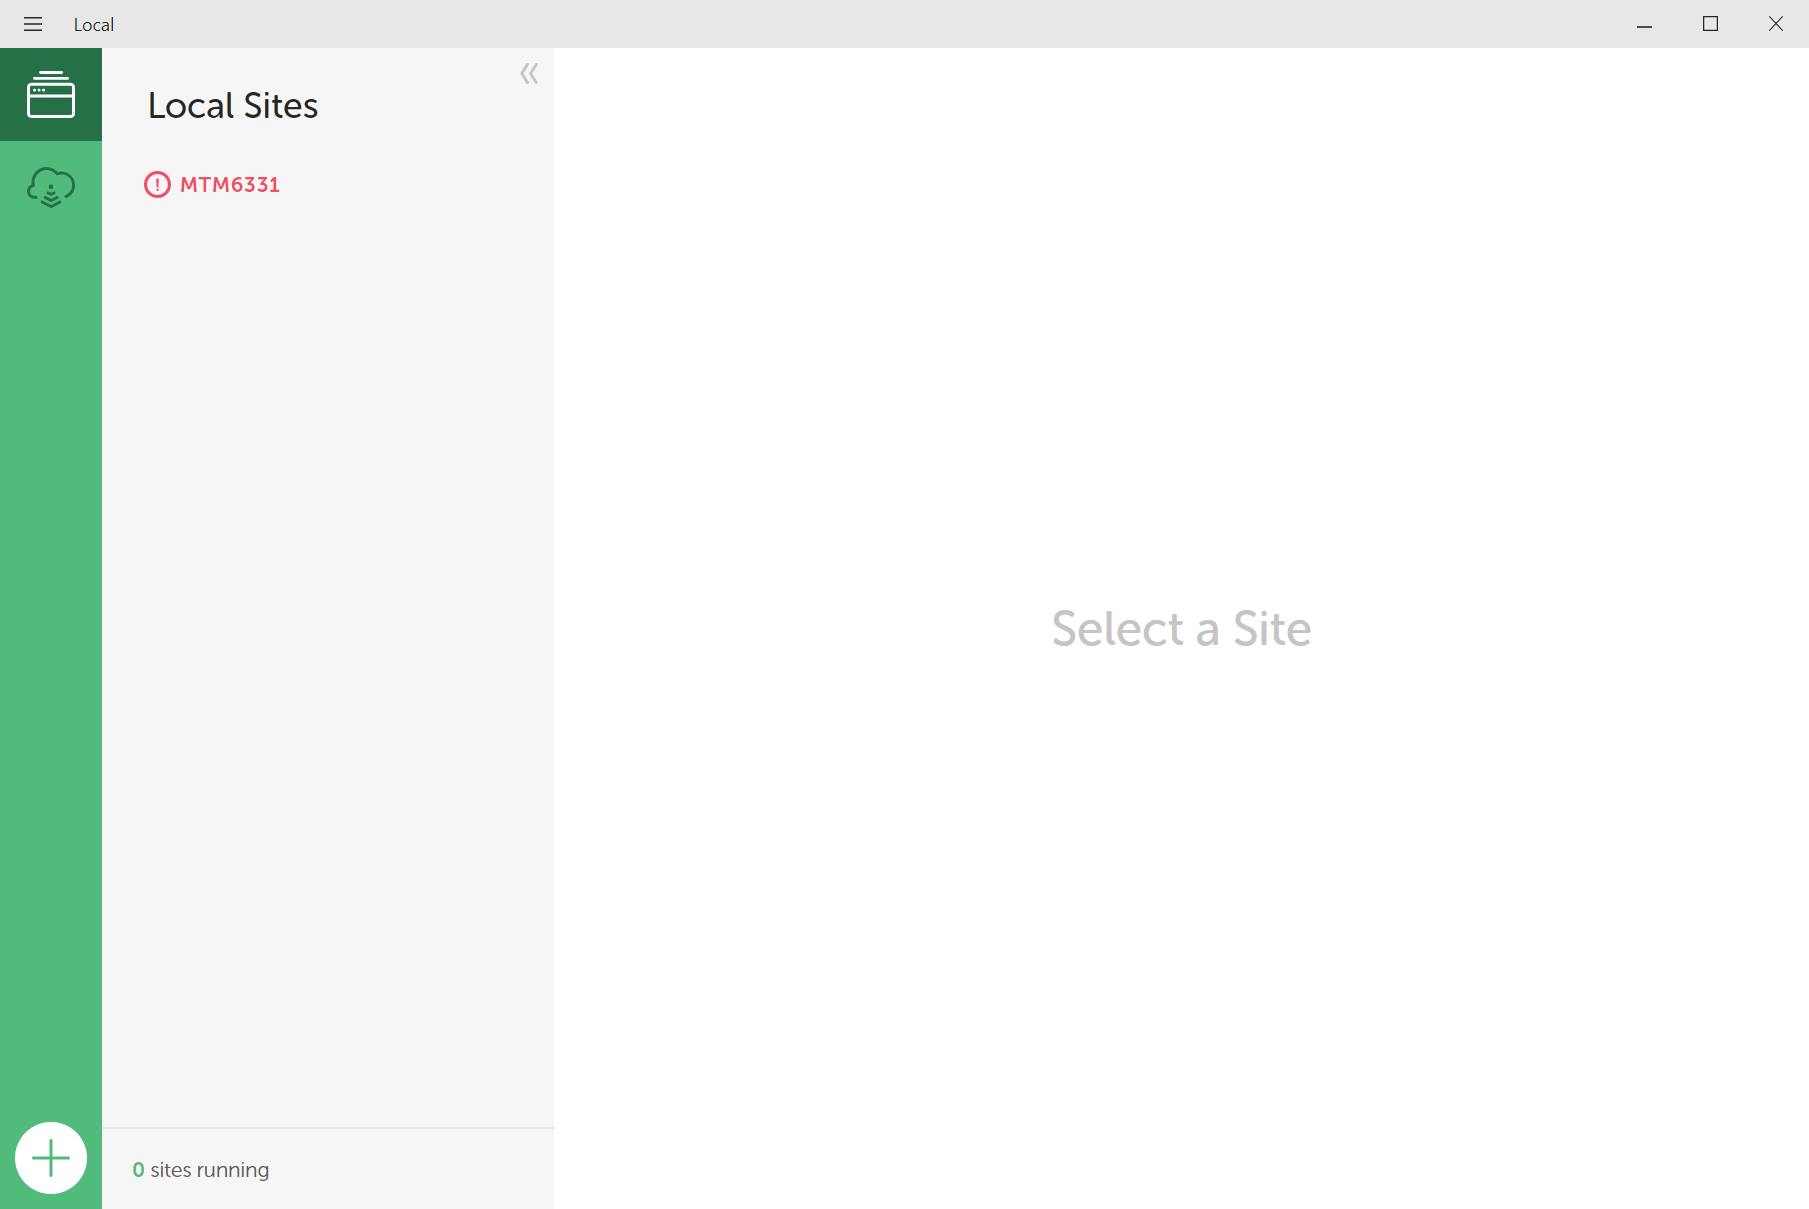
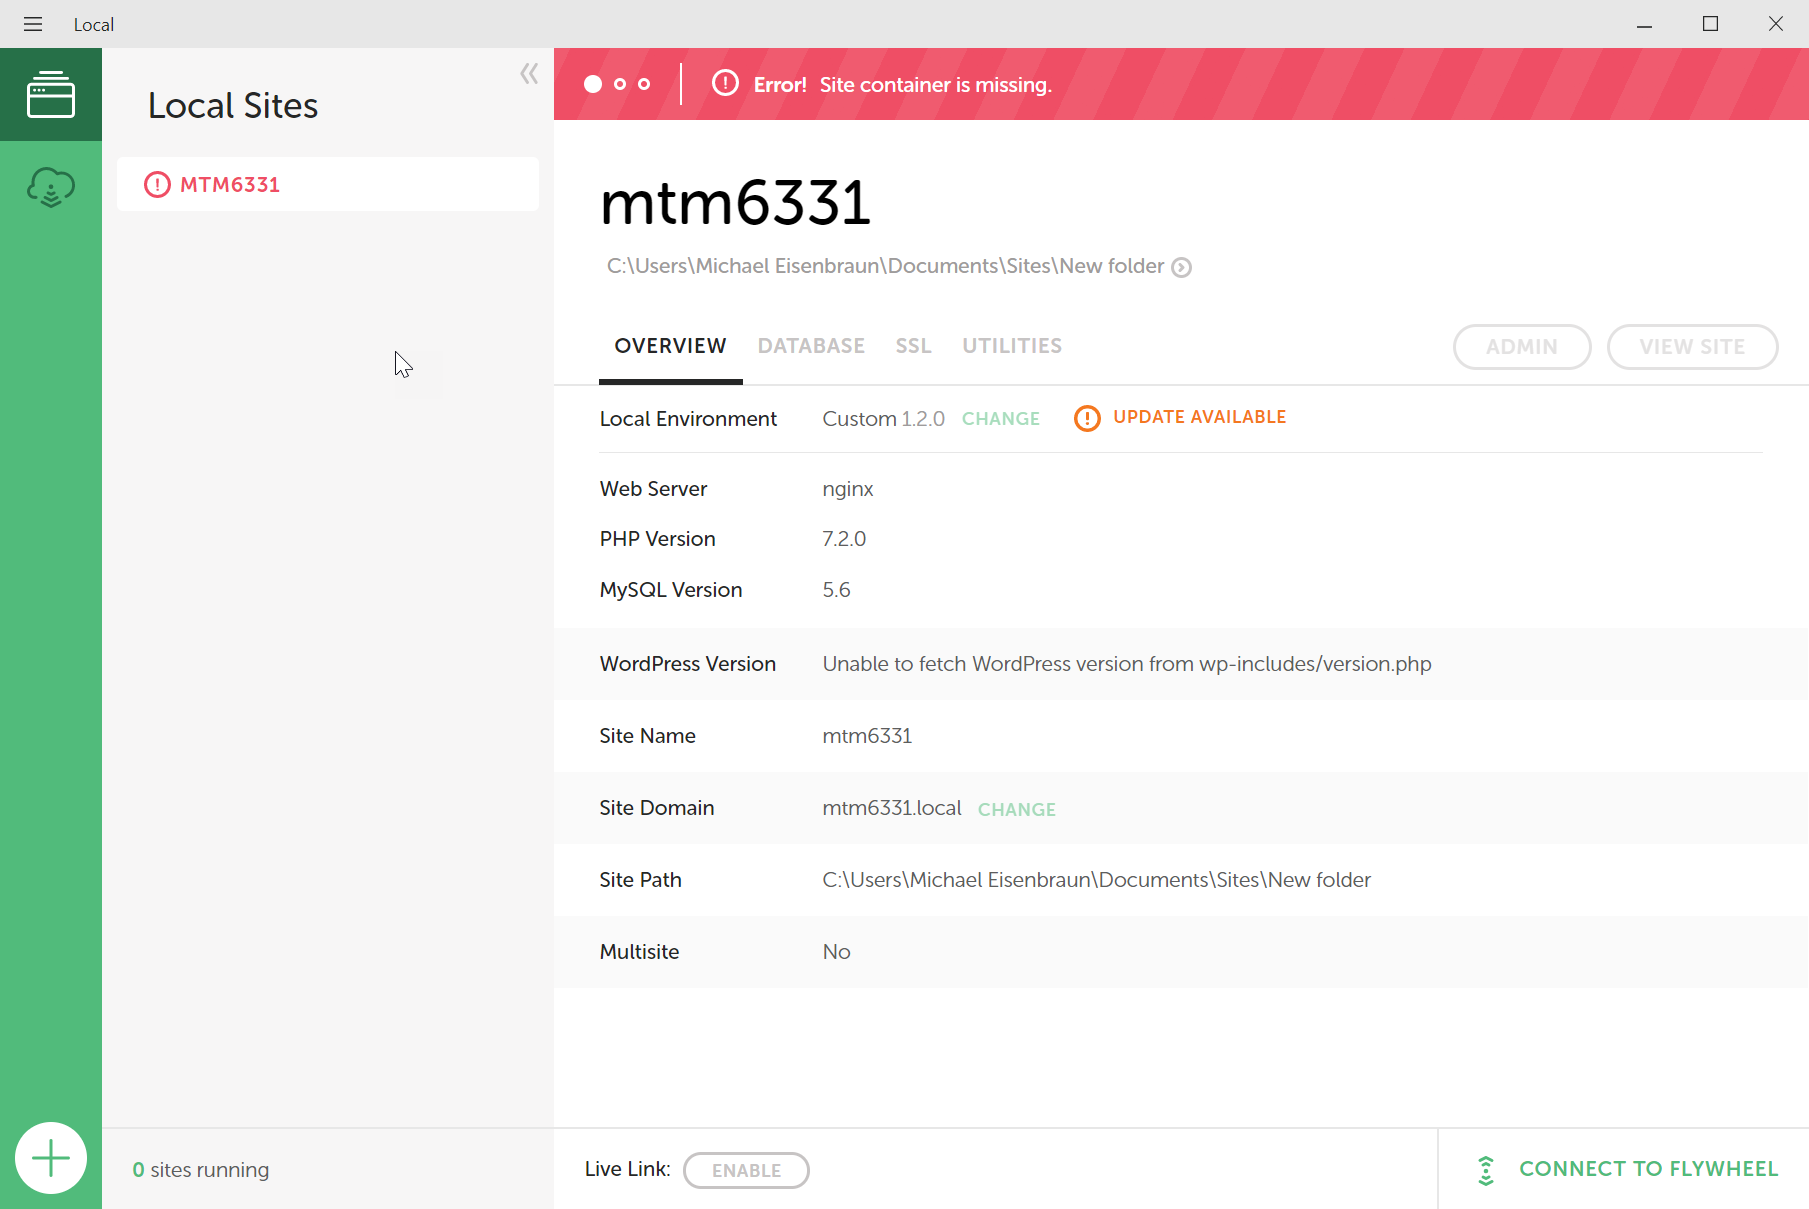
Click on the site name will reveal the error: Site container is missing.
Find the MTM6331 Laravel.zip file. View and copy all the contents from inside the zip file.
Paste the copied file into the Local site path.
TIP
The Local site path is location where you choose to store the site files
Back in Local by Flywheel, click on the site name again. The Error should change to a warning, and a "Restore Site" button should appear. Click the button.
4. View Site
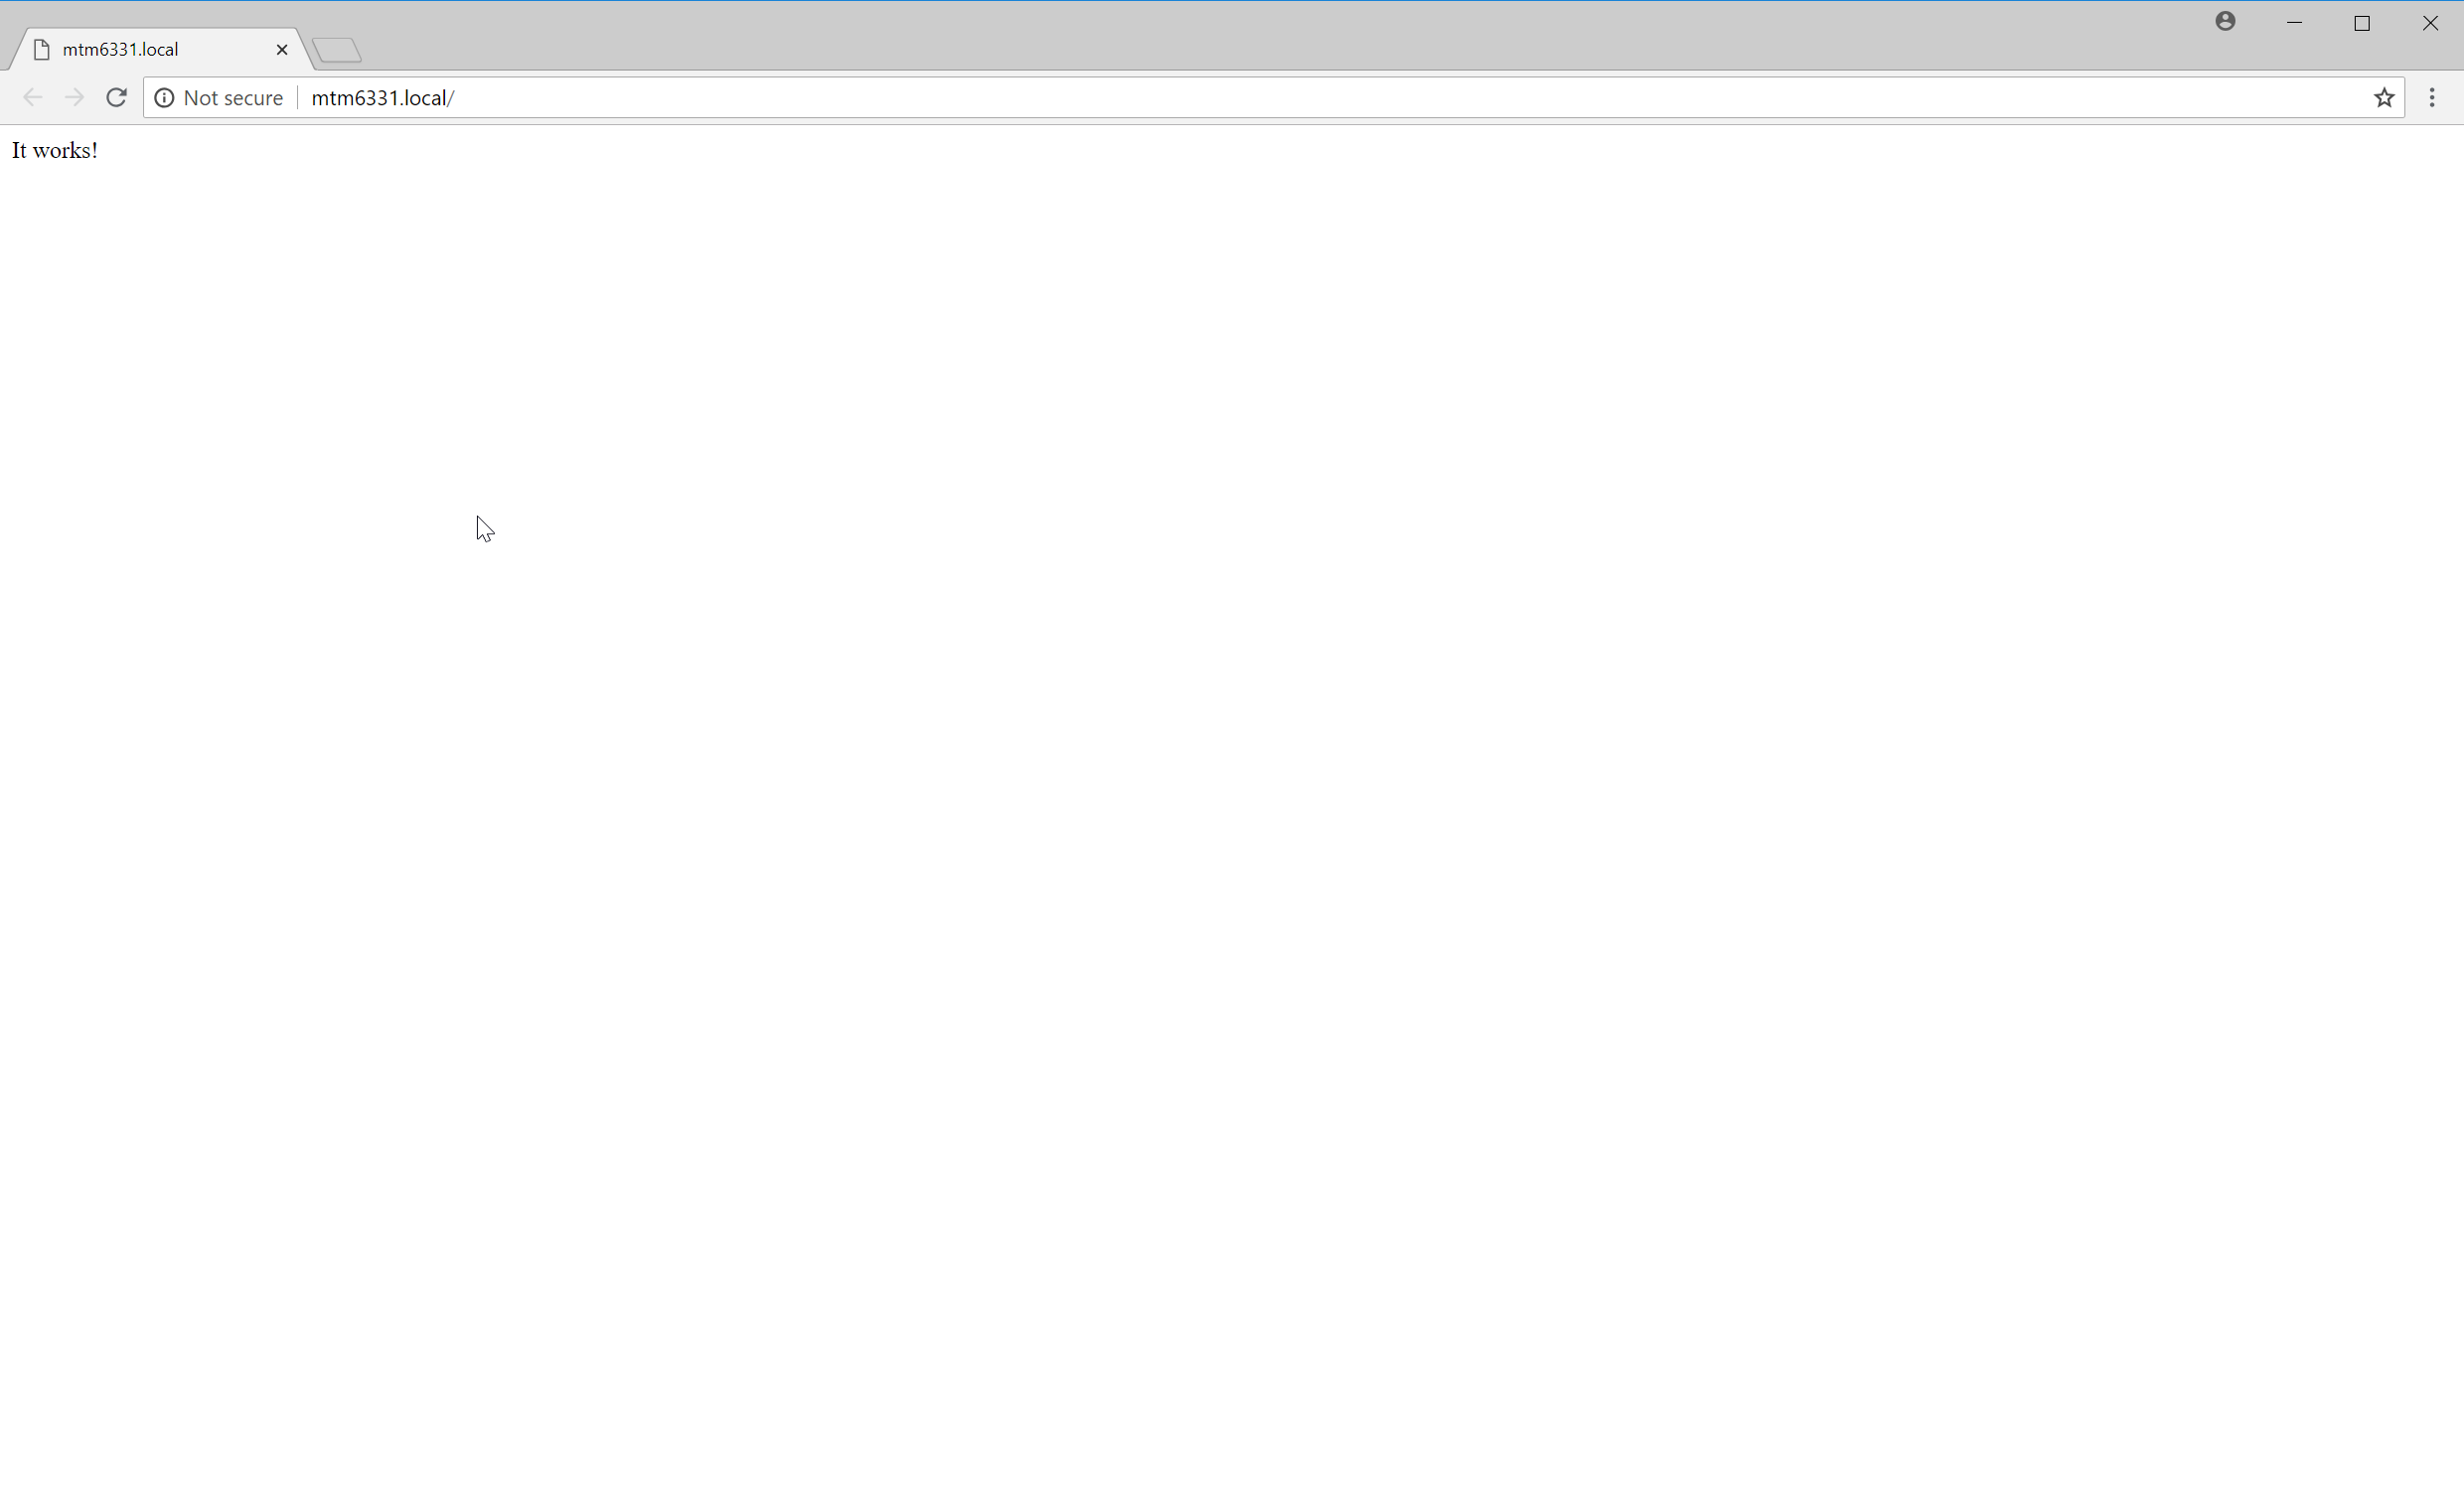
After Local by Flywheel has import the site, it will automatically start the server. Clicking the site name will reveal the site details. In the top, right corner will be a "View Site" button.

Clicking the "View Site" button should open the site in your default browser.
Seussology Mockup
The Seussology Mockup has been created using HTML/CSS to demonstrate the workflow of the using the site. We will use the mockup to begin create the site inside of Laravel.
Go to https://eisenbm.edumedia.ca/mtm6331/seussology.zip to download the Mockup.
Laravel Directory Structure
The Laravel Framework was constructed using the Model-View-Controller (MVC) Architecture and relies on the very specific directory structure. The following table outlines the directory structure of Laravel.
| Directory | Description |
|---|---|
| app | This is where the Model and Controller Files will reside. |
| database | This is where database migrations and seeds will reside |
| public | This will be public access folder for the site. This is where all CSS, JavaScript, and Image files for production will reside. |
| resources | This is where the View files will reside, as well any pre-processed assets. |
| routes | This is where the Route files will reside. Routes are use to create the URL structure of the site. |
| vendor | This is where any third-party libraries will reside. |
Laravel Routes
Laravel routing engine is powerful, and yet easy to use. All Laravel routes are defined in route files, which are located in the routes directory.
Open web.php in the routes directory
You will find that a web.php already contains some routes. Let's look at the first one, and break it down.
Route::get('/', function () {
    return view('welcome');
});
The Request Type
The first part of the statement above Route::get, is the request type. The following request types are available:
Route::get($uri, $callback);
Route::post($uri, $callback);
Route::put($uri, $callback);
Route::patch($uri, $callback);
Route::delete($uri, $callback);
Route::options($uri, $callback);
The URI
The first argument of the Route::get method '/' is the URI for the route. In this example, the URI is pointing the site's root.
URIs can also include parameters or variables which will listen for values being passed through the URL. For example, the URI '/book/{id}' will listen for the book id to be passed through the URL.
The Callback Function
The second argument of the Route::get method is the callback function. The callback function test the route what should be displayed on the page. In example above return view('welcome') tells the route to find and display the file found in resources/views/welcome.blade.php.
Laravel Views
Views contain the HTML that will be displayed by the application. In Laravel, Views are stored in the resources/views directory.
Go to mtm6331-laravel.local
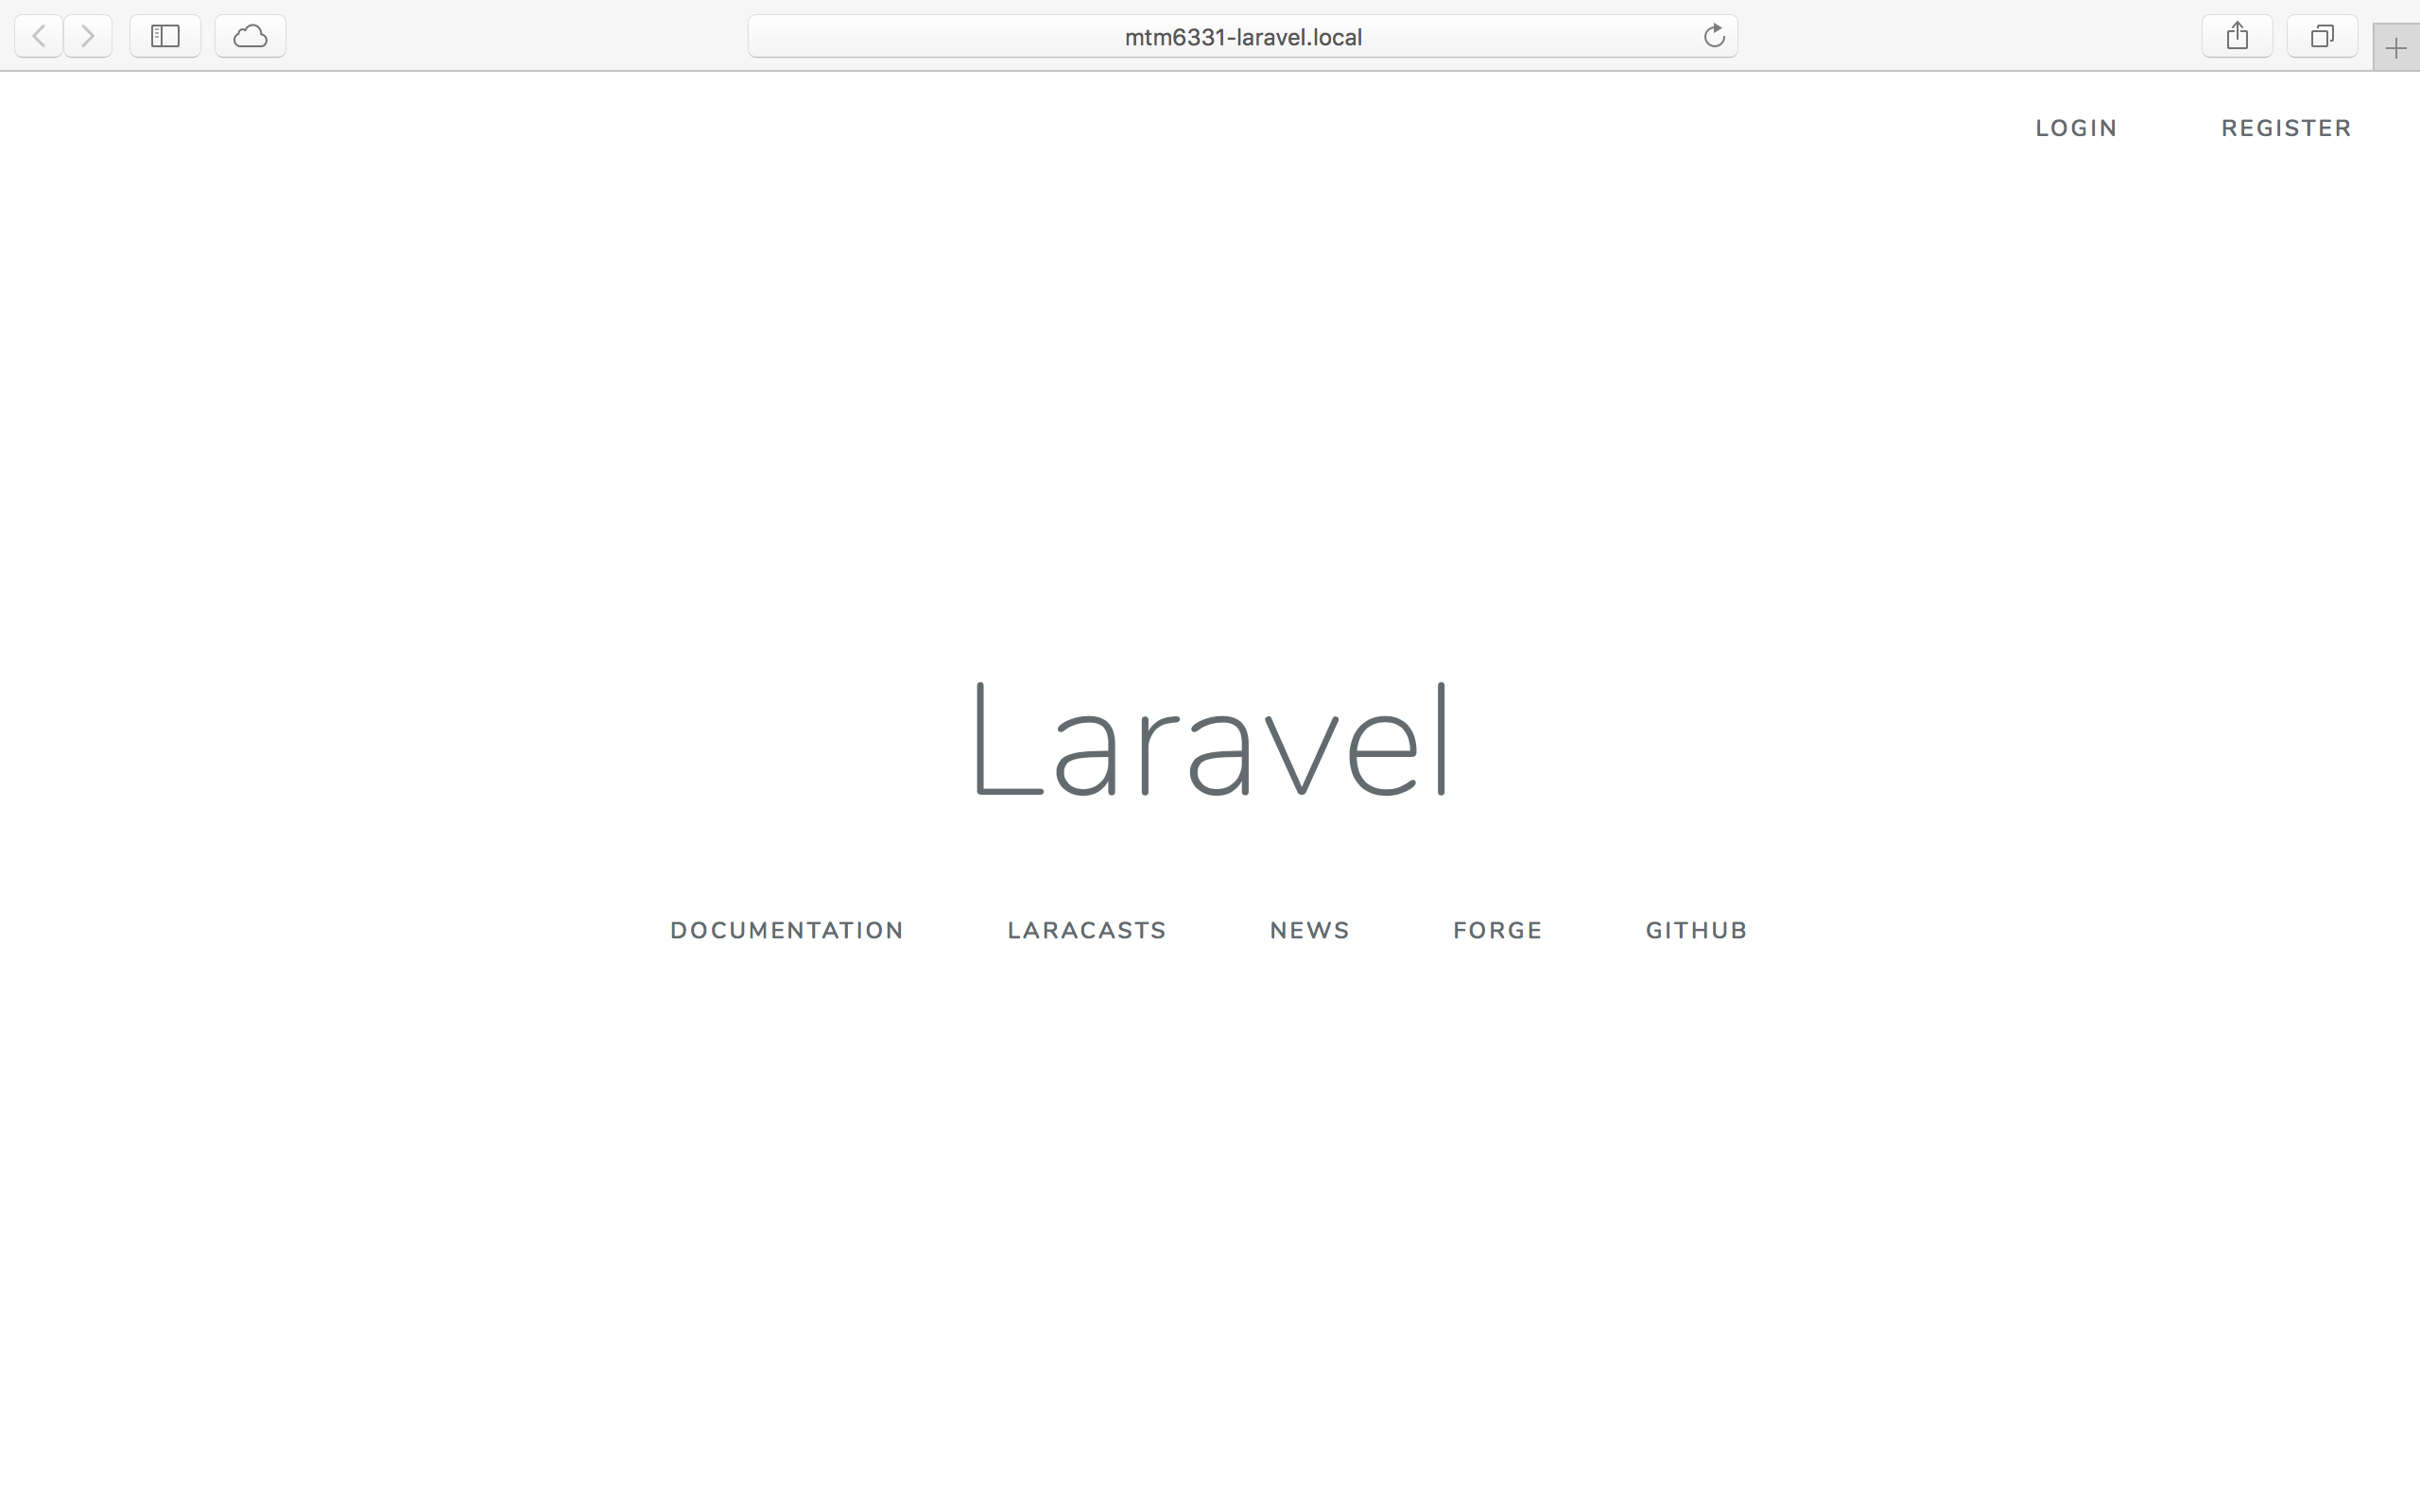
From the Routes file we know that the site's route is displaying the Laravel Welcome found in resources/views/welcome.blade.php.
Open resources/views/welcome.blade.php
This is a Blade template file. Blade is a templating engine provided with Laravel. It provides a simplier syntax over plain PHP, but because Blade templates will be compiled into PHP, still allow plain PHP to be used inside of the template.
Find the following code inside of welcome.blade.php:
<div class="title m-b-md">
    Laravel
</div>
Change it to be this:
<div class="title m-b-md">
    Seussology
</div>
Now, refresh the browser window.
Create the Books Page
Now that we are familiar with the structure of the routes and views, we will start creating our Seussology web site.
Create Books Template
Inside resources/views, create the file books.blade.php.
The page we just created will serve as the books / index page for our site, and will eventually list all the available books in the Seussology database. For now, we will uses static placeholders.
Copy the HTML from index.html of the Mockup files to books.blade.php
The view books.blade.php will serve as the site's root. So, we need to update the route for the URL to point to our new template.
In routes/web.php, change the first route to be this:
Route::get('/', function () {
    return view('books');
});
If we were refresh the browser, you will find that the new template appears, but is broken. That is because we have not moved the styles and images to our Laravel site.
Add CSS and Images
All web resources (CSS, JavaScript, images, etc.) are stored in the public folder.
Copy seussology.css to the public/css/
Now, we need to update the template to link to seussology.css. The asset() can be used to get the path to the public directory and should be used to include CSS, JavaScript, and image files.
Inside resources/views/books.blade.php, change the following line:
<link href="css/seussology.css" rel="stylesheet">
to this:
<link href="{{ asset('css/seussology.css') }}" rel="stylesheet">
Refreshing the page will show that the CSS is now being applied. We now need to do the same for the images.
Copy the images folder of the Mockup files to the public folder
All the <img> tags will need to be updated to use the asset() function like the following:
<img id="logo" class="nav-image" src="{{ asset('images/seussology-logo.svg') }}" alt="Seussology">
Note
The images may work without the asset() function for the site root, but this may not be the case for all pages.
Defining a Layout
A layout is like a "master" template and since most web applications maintain the same general layout across various pages, it's convenient to define this layout as a single Blade view.
Inside resources/views/layouts, create the file seussology.blade.php.
Copy the contents from books.blade.php and paste in to seussology.blade.php.
the @yield directive is used to display custom contents of a given section, which allow other templates to set that content using the @section directive.
Inside the <header> tag replace the <h1> tag with this:
<h1 class="header-title">@yield('title')</h1>
And replace the search form with this:
@yield('header')
Finally remove the entire <main> tag from seussology.blade.php and replace it with this:
@yield('main')
Using a Layout
To incorporate a master layout inside another template, we must use the @extends directive.
Inside books.blade.php, add the following line to top to the file.
@extends('layouts.seussology')

@section('title', 'Books')

@section('header')
    <form class="search">
        <input type="search" name="search" class="form-input" placeholder="Search Books">
    </form>
@endsection
Then remove all of the HTML except the entire<main> tag.
Surround the <main> tag with the following:
@section('main')
  <main>...</main>
@endsection